.

.
Find all sorts of models here, from swords to guns to guns with swords!

Tuesday 19 August 2014

Update- Sword Art Online!

Hello!
Since I finished StormFlower, I've had to think of what my next project will be. Also, since it's still the holidays, I've had a long time to think about it. I had a few ideas, ranging from Halo to Attack on Titan. But, in the end, as you could probably guess from the title, I went with a sword from an anime called Sword Art Online. To be specific, the Elucidator.

The best way to make it would be to make 3 parts; the blade (red), the hilt (orange), and a vertical connector piece (green) and stick them together..
This would be best with the materials I have, since all 3 parts, when connected, form a triangle between them, making it far stronger. Otherwise, there would be a lot of strain, and likely break when swung.

So, with a new project, comes a new challenge! This time, it's to make it look like an actual sword. By that I mean to make it look like metal, so for that I need to know how to do that. But, when I get that figured out, it'll look amazing!

For now though, you can see a professional swordsmith make the Elucidator, by clicking here. I wish I was as good as them...


Thursday 24 July 2014

Weapon- StormFlower

So, now with the summer holidays upon us, I have the time to tell you all about my new finished project; the StomFlower weapon from RWBY. For those who are wondering what it is, here is the 'actual' weapon from the series;

With that in mind, here is my version;

I made it out of several sections of MDF wood, and cut them out using a Scroll Saw, filing each piece as necessary to be able to join together, while still being removable, as can be seen here;


This took about the whole school term (6 weeks) of going in to work on it during my lunch breaks. I'm quite proud of it, but a couple of things I definitely could have improved on or done better.

How to make it-

Here is a more in-depth version of how I made StormFlower. First, I blew up the picture shown earlier and used a sheet of tracing paper to draw the main body out.
I will always say this, but for any model like his, make a full scale version out of cardboard! This helps you to get a good feel for how you might make it, or any adjustments to your blueprints you want to make. For example, I made the handle far bigger than on my paper model, because it was far too small for a normal persons hands, nor does it look right.


I then took that and outlined the pistol section out on a piece of MDF wood. You could use other kinds, but MDF is strong enough, easily cut and filed, while still being resilient.

 Two such parts were cut out, and I then did the same for the blade section, and used a belt sander to make the two stuck together sections of the blade pointed at the end. Next, I found a scrap piece of wood, and cut the magazine out. I only cut one out, as the scrap wood was thick enough to be held, and thin enough to be slotted into the two pistol parts, when stuck together.

 But that can't be done yet! I then had to chissel out the slot where the blade and magazine would fit into the pistol. I used a handheld drill thing which the name of which I never learnt, but was designed for the task. Like a handheld manual CNC Machine. Anyway, I then used a chissel and mallet to do the rest, and finally filed it all out so they all fit together. Then came the best bit of all, a working trigger. By this I mean a spring pushing a grey-painted trigger back after being pulled. That had to be chisselled out, and the trigger and spring (from a typical ballpoint pen) inserted.

 I then glued the two pistol body parts together (with the trigger and spring in it!).

 After that it was just a matter of filing it all to look right, then painting it. But one more pair of parts have to be cut out; handle grips. I used thin wood scraps, and cut them at the same time using the Scroll Saw. I painted them black, and glued them onto the already painted rest of the pistol. I then did some final checks on the joints and trigger, and it's done!

Wednesday 28 May 2014

Update- Minecraft and RWBY stuff

As much as I want to say 'Hey, I made my Ember Celica', I can't, as a CNC Machine I was hoping to use at school is broken, and a Nerf gun I ordered online never arrived. So, for the past week, I've been thinking of other stuff I could make. Where I live, it's the half term holiday (I have this week off school), and another 6-7 weeks of the last term. So I wanted to give myself something to make in that time (so about 30 lunches), and I was thinking about this when playing Minecraft. See where I'm going?


Yep, I'm going to make a Diamond Sword from MC in that time. Probably out of Foam, as it's lightweight and reasonably sturdy. So, six weeks for a pixel sword? Sure, sounds good.
But that's not all! I'm desperate to make a weapon from the show RWBY, which is the same show that Ember Celica is from, as it's a show that I love, and the next Volume is coming out soon. The 'simplest' I could think of is one called StormFlower, which is like an automatic pistol with a knife jutting out downwards. I'm sure the phrase 'a picture paints a thousand words' would really come in handy about now, so here you go;


I'm hoping the MC Sword takes about two weeks of full commitment, and the StormFlower may be skimming the 'deadline', but I think it should be possible. But these two will definitely be made very soon, so you should hear more in a few weeks with one of them finished.

Friday 25 April 2014

Update- Ember Celica (kind-of) project

So, lately I've been keen on modding Nerf guns, chopping them up and stuff. I also have been wanting to make a gauntlet of some kind for a while. So, why not make a working Ember Celica? For those who don't know that it is;


Yes, I'm hoping to make that. Or something similar at least. I'm hoping to use a rotating belt (like the GIF) that holds 12 Nerf darts, and have the mechanisms from a Nerf Speedswarm or just stuff a Jolt somewhere. In a few days I'll have more specifics, but this is mostly just a 'hey, this is my next project' kind of thing.


Just for reference, here's the Speedswarm internals.

Thursday 24 April 2014

Weapon- Kingdom Keyblade

My first proper big project was the Kingdom Keyblade from Kingdom Hearts. If you don't recognise the name, it's this;


Cool font though.


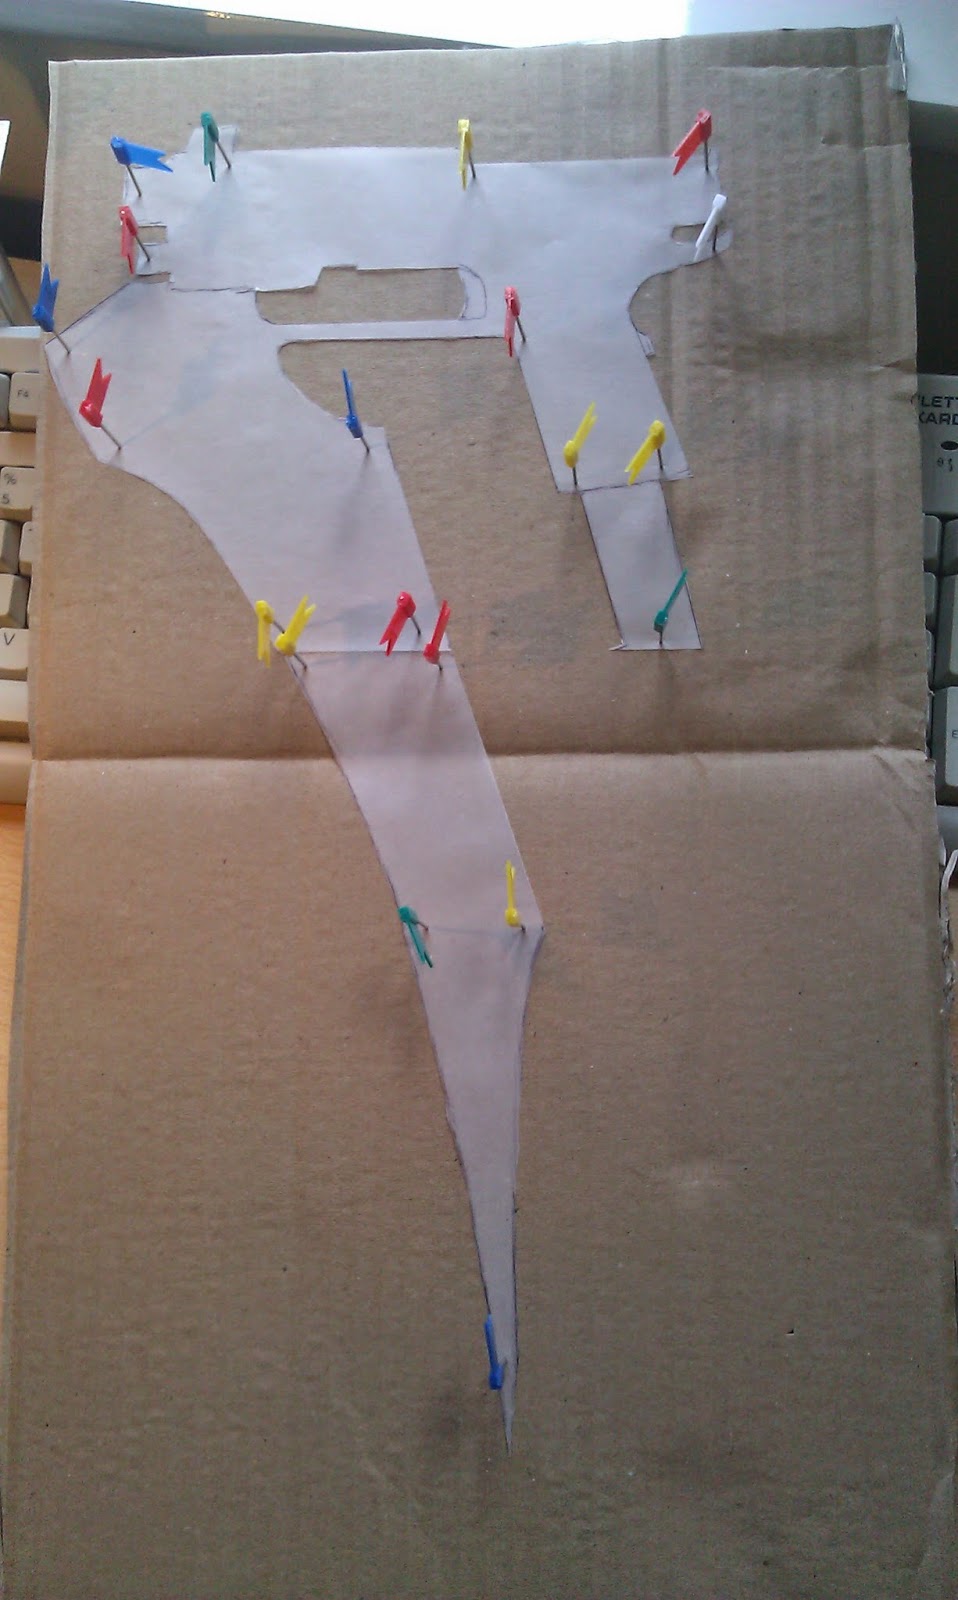
First, I took a couple images and made a full scale cardboard model. In fact, weapon makers rule number one; ALWAYS make a cardboard model first, even if you know what it'll look like. It lets you figure out how you'll do it with the more costly materials, rather than waste them away. I made my cardboard model (and thus my full one), 85 cm long, and it'll be more evident in a minute.


The cardboard model's on the right.


I then bought from a hardware store (B&Q, I think it was) some PVC piping in 32 and 40mm, each 1.5 metres tall. I cut the 40mm into a 22mm piece, and cut through it lengthways. The blade prototype on the left shows this, as this allows the Crown Blade piece to slot into it, and the extra space of the 22mm piece can fit onto the 50mm piece from the 40mm pipe. The bottom of the 32mm part has two slots cut into it, so that it fits into the handguard piece. At the bottom of the post there'll be 1:1 drawings for the two wooden parts, so it might make more sense there.

 Now, you can see how the slots work. For the blade not to fall off, I had to put four screws in place, two in each side. Upon reflection, a thinner Crown Blade would've been better, as the balance would've been great. So, now you can see the one 32mm pipe section in place, as the handle. I had a 13 cm part cut out, and more slots at the ends. To get it in snuggly, I brashly decided to use a hammer to get it in place. At least it worked...? Only now, I realise that the only useful place for glue is at the tip, for the two PVC parts to fit and the Crown Blade together.
 You can now see how the slot works, and it's quite a good fit.


Both finished Keyblade models. The cardboard model is still useful here, as it can be used as a final comparison. At the bottom of the cardboard model is a ruler, so you can use it to find the height and measurements (it's a metal 30cm ruler with no pointless edges).
Once I had the parts individually, I primed the plastic pieces (except for the handle, as it was already black) with a PVC Primer so that the paint would stay on. I put about 5 or six coats on, just to be sure. I then painted the Crown, it's hold, and main staff section silver. I then duct taped the handle so it wouldn't be painted gold. Once the handle guard was gold, I attached the two main sections to make the full blade, then made the mid-point gold, with the help of lots of duct tape. Once the tape came off, and a quick touch-up here and there, it was done!


For the hexagons in the Crown Blade, use the points to make them into circles. Hexagons aren't on the real Blade, and are more of a pain to get right.


For the Handle guard, use this twice mirrored to make the whole piece. An A4 sheet wouldn't have fit the whole thing, so I made half of it. The handle line is just for reference.

I'm sure that there are better ways of doing this, but in no way am I unhappy with this. I hope to see other people's versions, and I hope that I helped any Kingdom Hearts fans out there.

Start of something new...

Welcome to my blog. Unlike my failed Legofix blogs (yes, I had 2) that only had Lego and Airfix (in theory, not in practice), this one will have some lego models when I make them, but also a hub for the models and weapon cosplay-things I make. Hopefully, if I can ever be bothered, I'll have a YouTube page for videos of my weapons as well, but for now, just a way for other people to cheaply make the same things I do! When making these things, my main problem is finding scales, ways of doing it, etc. This will hopefully change that. Well, we'll have to see what happens. Have fun building stuff!