


I made it out of several sections of MDF wood, and cut them out using a Scroll Saw, filing each piece as necessary to be able to join together, while still being removable, as can be seen here;


This took about the whole school term (6 weeks) of going in to work on it during my lunch breaks. I'm quite proud of it, but a couple of things I definitely could have improved on or done better.
How to make it-
Here is a more in-depth version of how I made StormFlower. First, I blew up the picture shown earlier and used a sheet of tracing paper to draw the main body out.
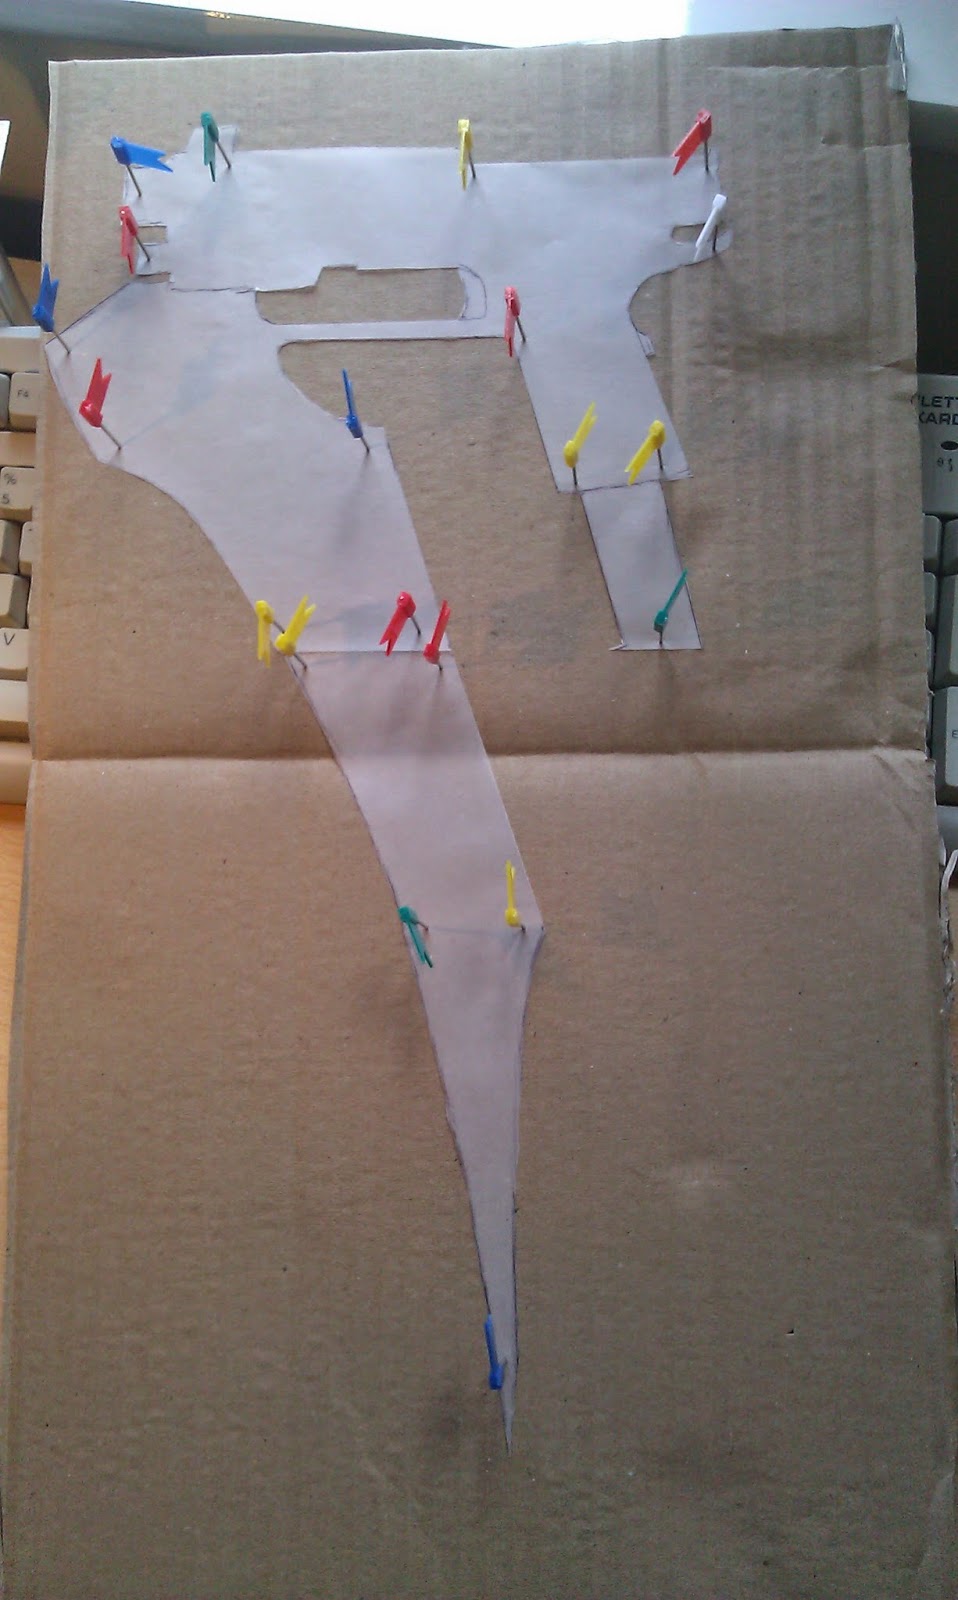
I will always say this, but for any model like his, make a full scale version out of cardboard! This helps you to get a good feel for how you might make it, or any adjustments to your blueprints you want to make. For example, I made the handle far bigger than on my paper model, because it was far too small for a normal persons hands, nor does it look right.

I then took that and outlined the pistol section out on a piece of MDF wood. You could use other kinds, but MDF is strong enough, easily cut and filed, while still being resilient.

Two such parts were cut out, and I then did the same for the blade section, and used a belt sander to make the two stuck together sections of the blade pointed at the end. Next, I found a scrap piece of wood, and cut the magazine out. I only cut one out, as the scrap wood was thick enough to be held, and thin enough to be slotted into the two pistol parts, when stuck together.

But that can't be done yet! I then had to chissel out the slot where the blade and magazine would fit into the pistol. I used a handheld drill thing which the name of which I never learnt, but was designed for the task. Like a handheld manual CNC Machine. Anyway, I then used a chissel and mallet to do the rest, and finally filed it all out so they all fit together. Then came the best bit of all, a working trigger. By this I mean a spring pushing a grey-painted trigger back after being pulled. That had to be chisselled out, and the trigger and spring (from a typical ballpoint pen) inserted.


I then glued the two pistol body parts together (with the trigger and spring in it!).

After that it was just a matter of filing it all to look right, then painting it. But one more pair of parts have to be cut out; handle grips. I used thin wood scraps, and cut them at the same time using the Scroll Saw. I painted them black, and glued them onto the already painted rest of the pistol. I then did some final checks on the joints and trigger, and it's done!
